
A simple, basic savory tart crust that is perfect for your savory tart recipes. This press-in crust is super easy to make (No rolling!) and extremely versatile!
When it comes to tarts, the first thing that comes to mind is usually a dessert like this Summer Berry Tart or this Cake Batter Ice Cream Tart but tarts can be savory too. And every good savory tart starts with a good savory tart crust.
If you’re one of those people who resists making your own pie dough because you hate rolling it out, then this recipe is for you! It is so easy and there is no rolling involved. You simply press it into the pan and bake.
Let’s talk about what you need to make it.
Savory Tart Crust Ingredients:
This is a basic press-in crust recipe so you’ll need all of the usual suspects.
- FLOUR: All purpose works great for this recipe.
- COLD BUTTER: It is important that the butter is cold because it helps give the dough it’s texture.
- SALT: Will add flavor.
- ICE WATER: Adding this while preparing the dough will help keep the butter from getting too warm.
- EGG/WATER: Depending on what kind of pastry you’re making, I recommend using an egg wash to brush over the crust partway through the baking process. This helps seal the crust so that if you use a wetter filling, the crust will remain crisp.
Step By Step Photos and Instructions:
One of my favorite things about this savory tart dough is that it is super easy to make. Simply follow along with these step by step photos and instructions to see exactly how you make it.
Pulse ingredients in food processor. 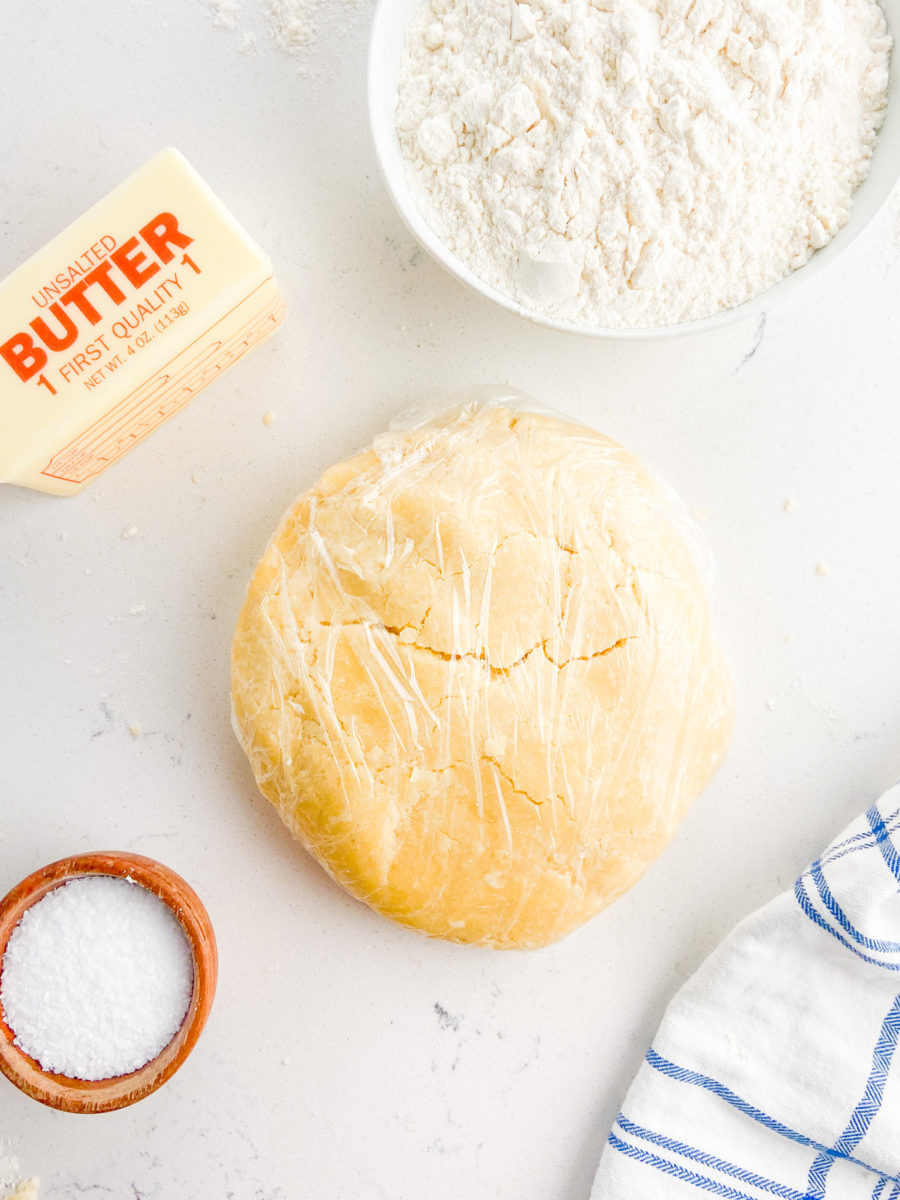
Wrap in plastic wrap and refrigerate. 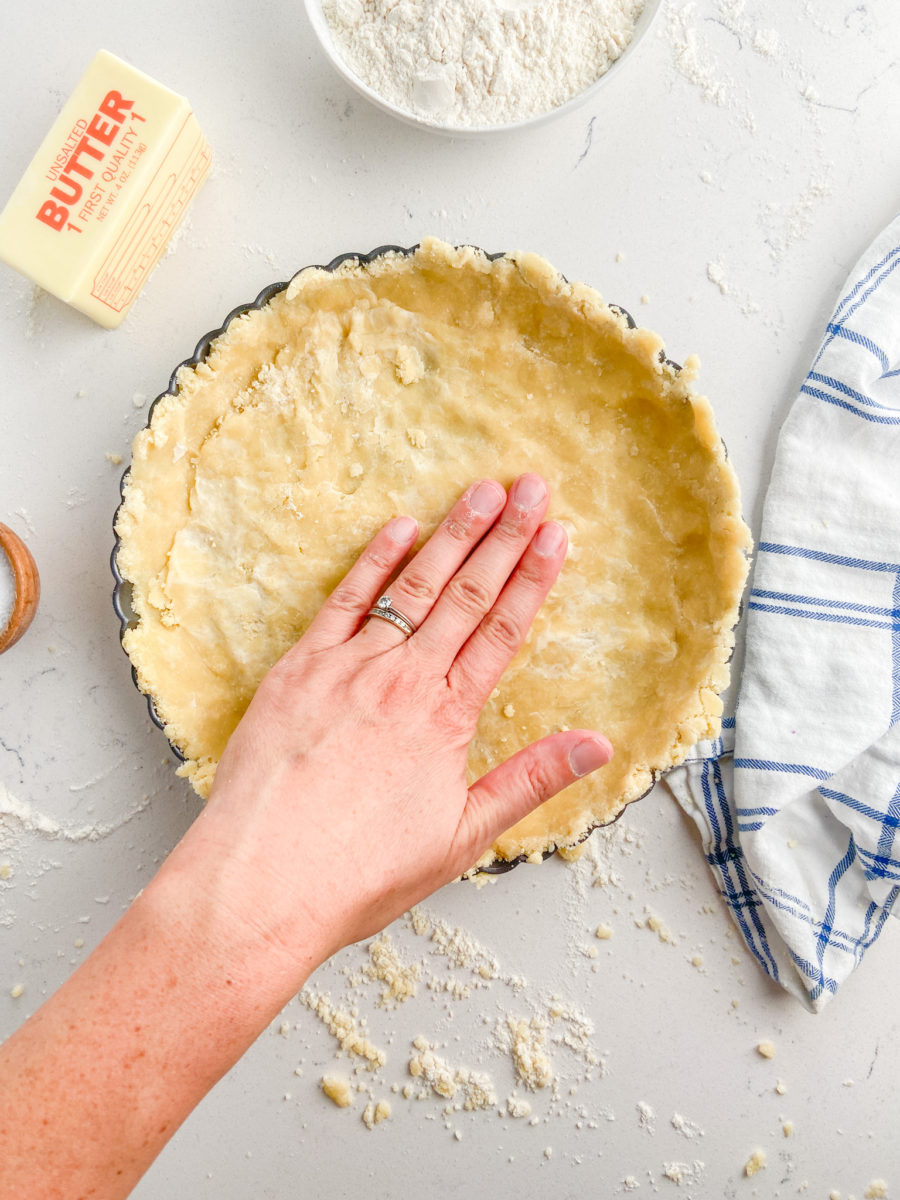
Press into pan. 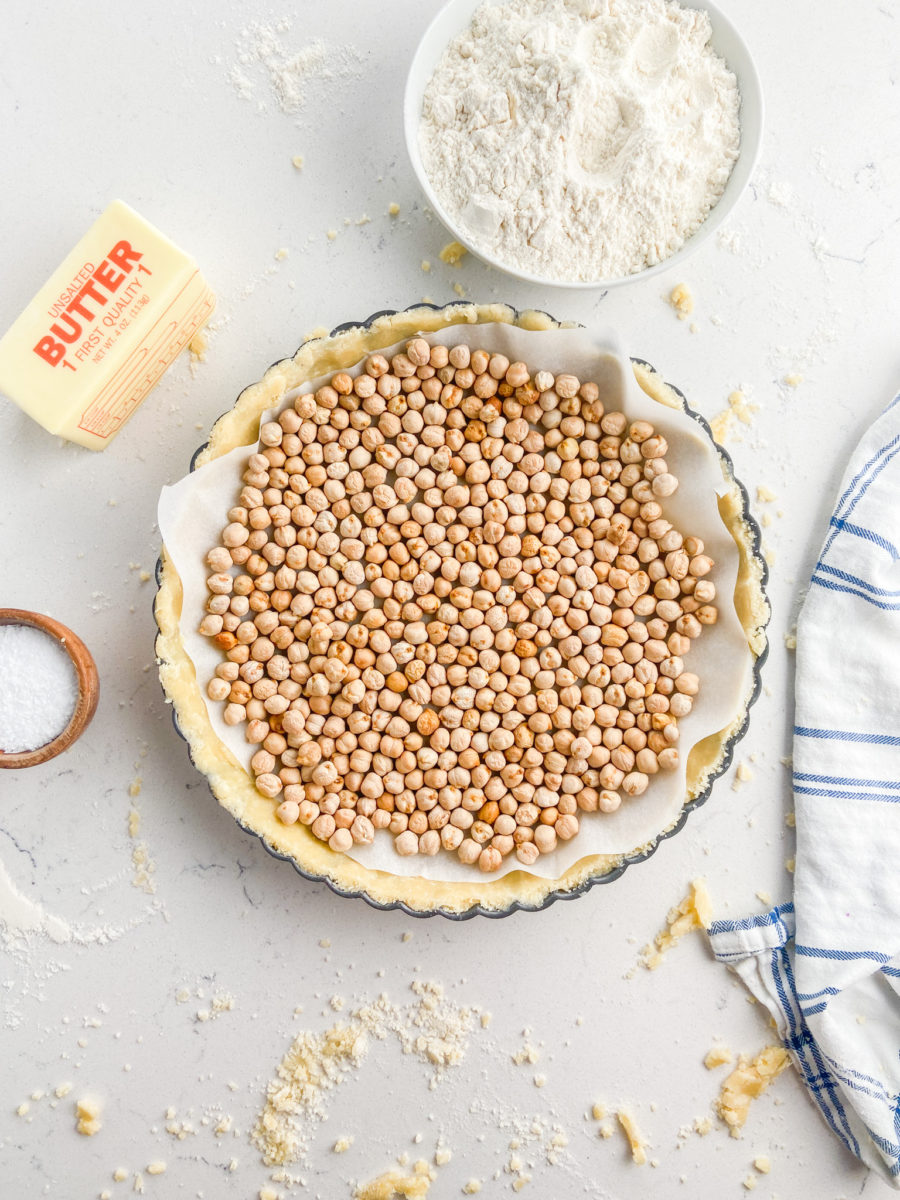
Top with aluminum foil and pie weights and bake at 450 for 10 minutes. 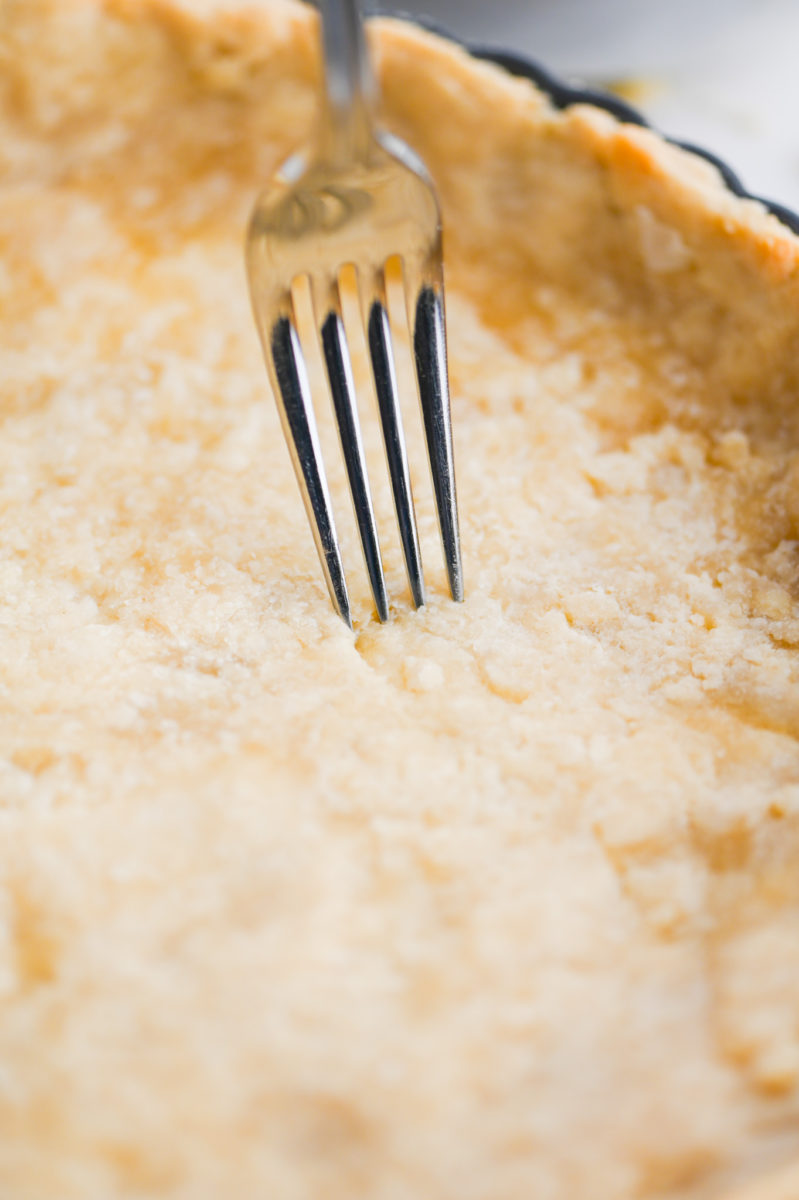
Prick with a fork. 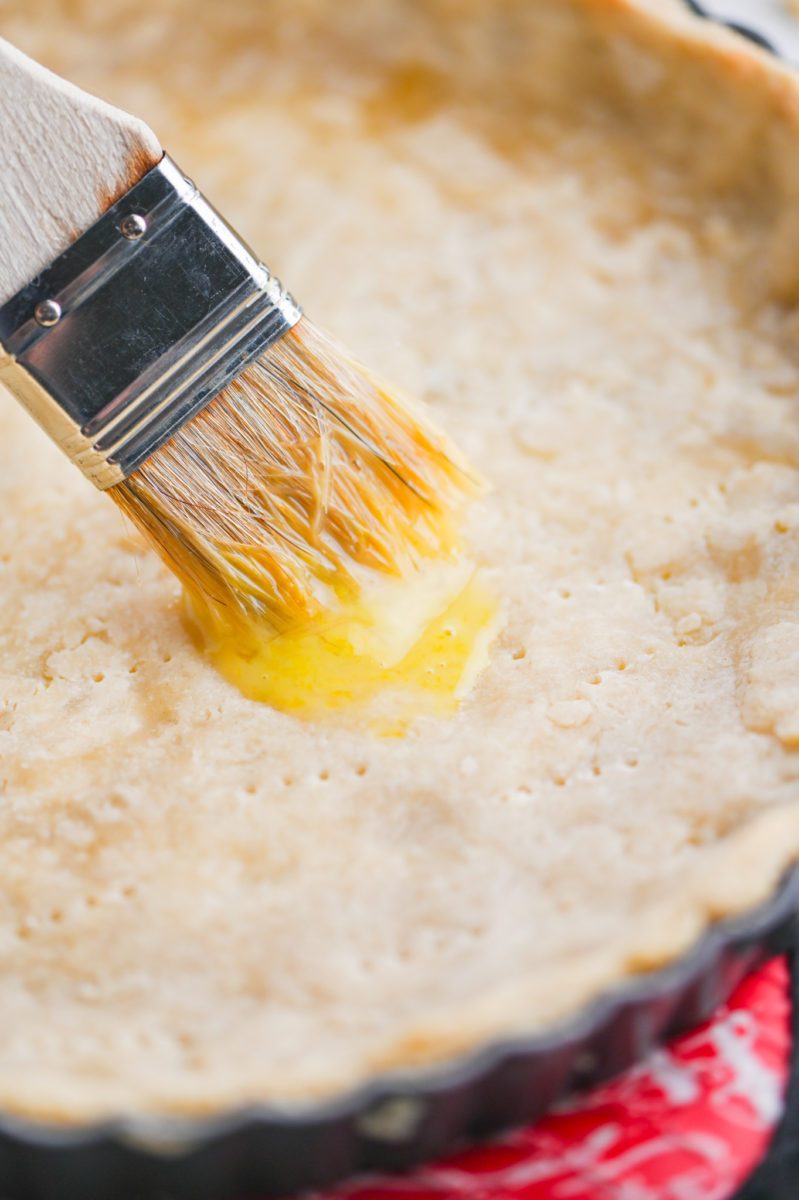
Brush with egg wash. 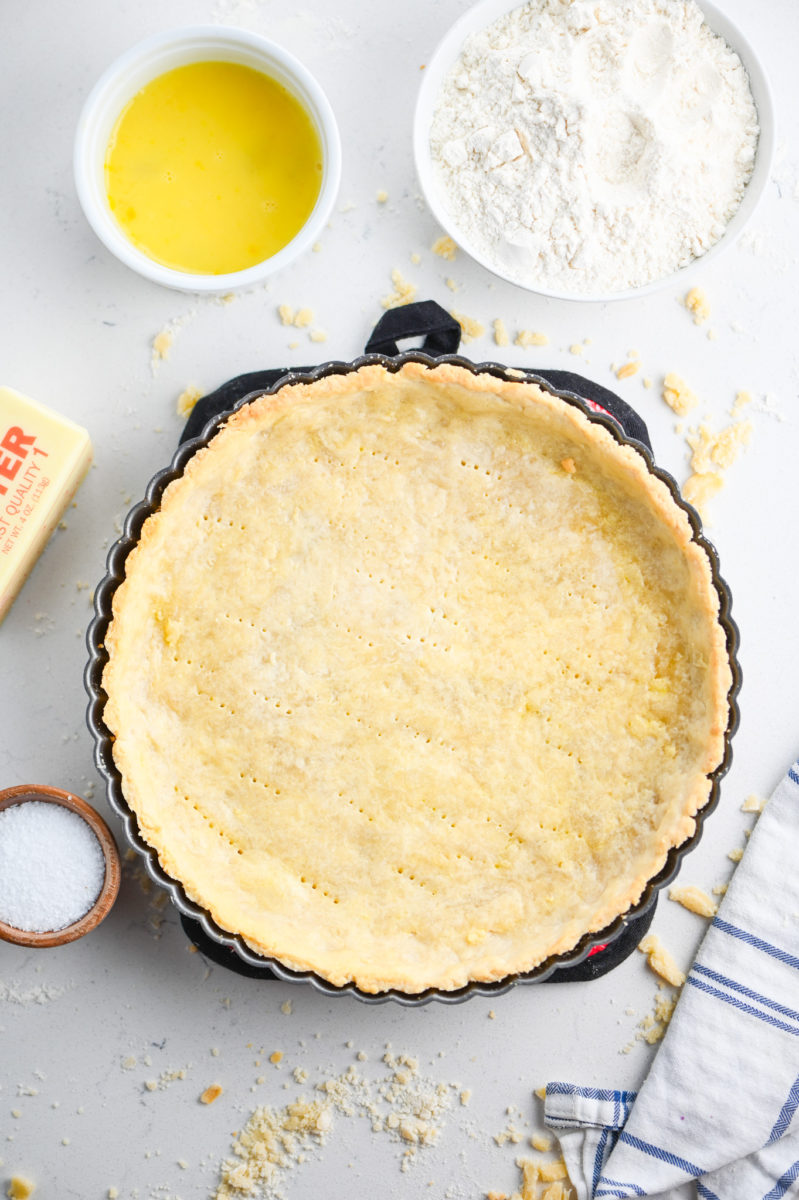
Bake until golden brown.
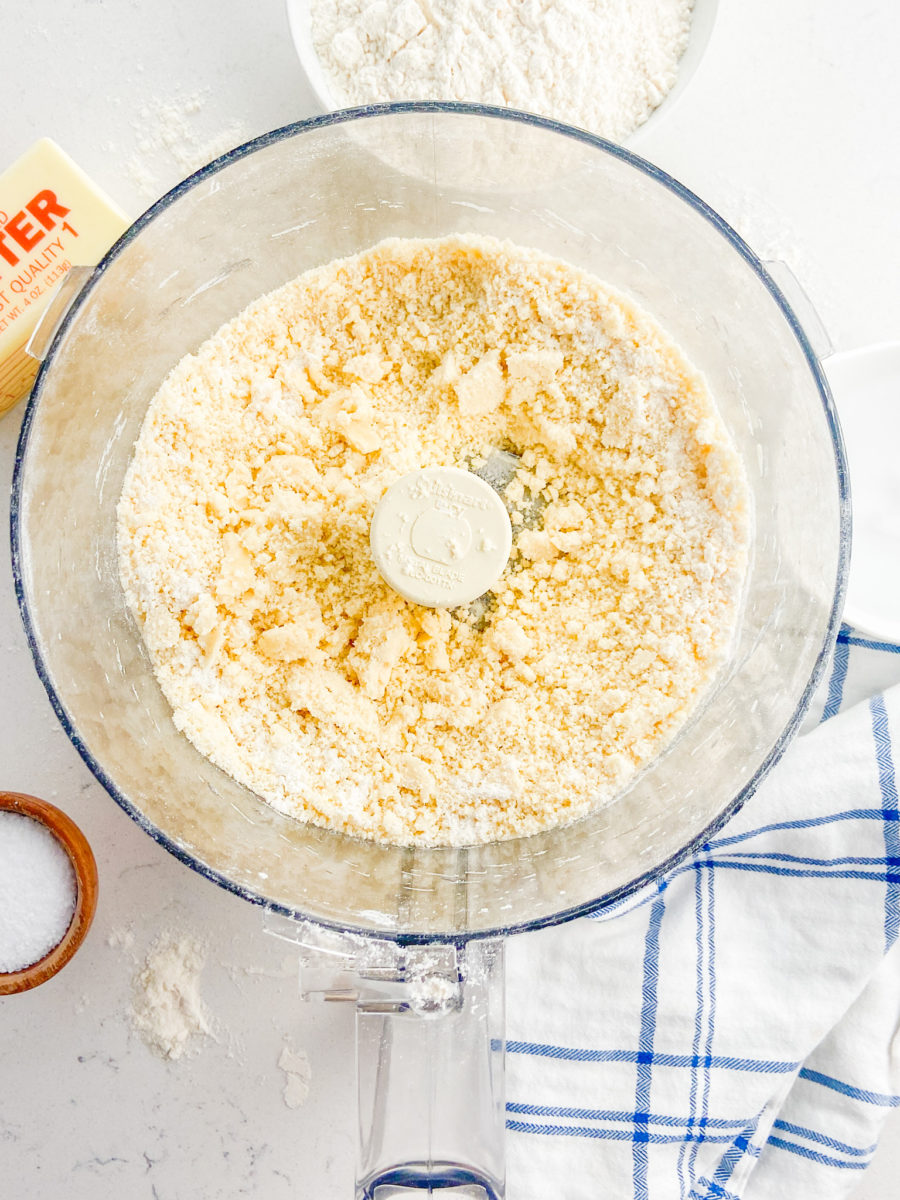
STEP #1: Place all ingredients together in a food processor. Process until a crumbly mixture forms.
STEP #2: Place the dough onto a plastic wrap. It will be a bit crumbly but simply press it together. Cover and chill for 20 – 30 minutes.
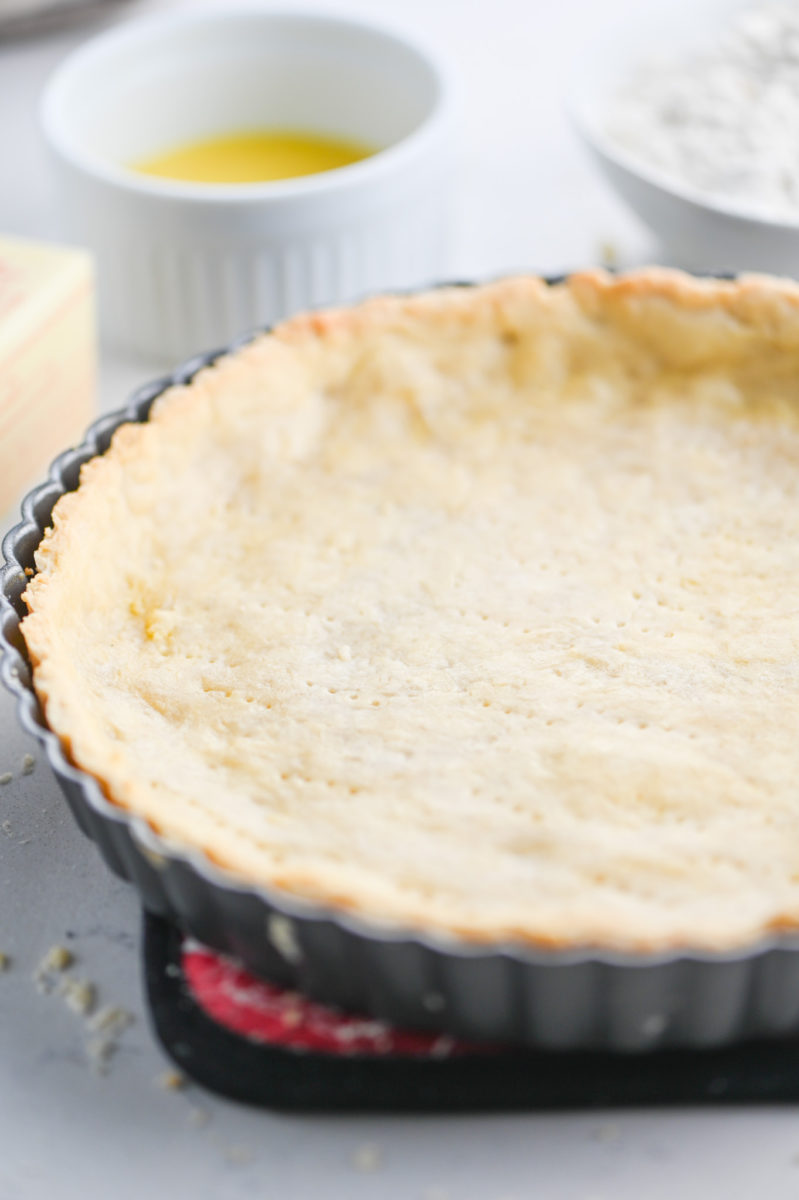
STEP #3: After dough has chilled, press into a 9 inch tart pan. Place aluminum foil on top of crust and add pie weights ( I used dried beans).
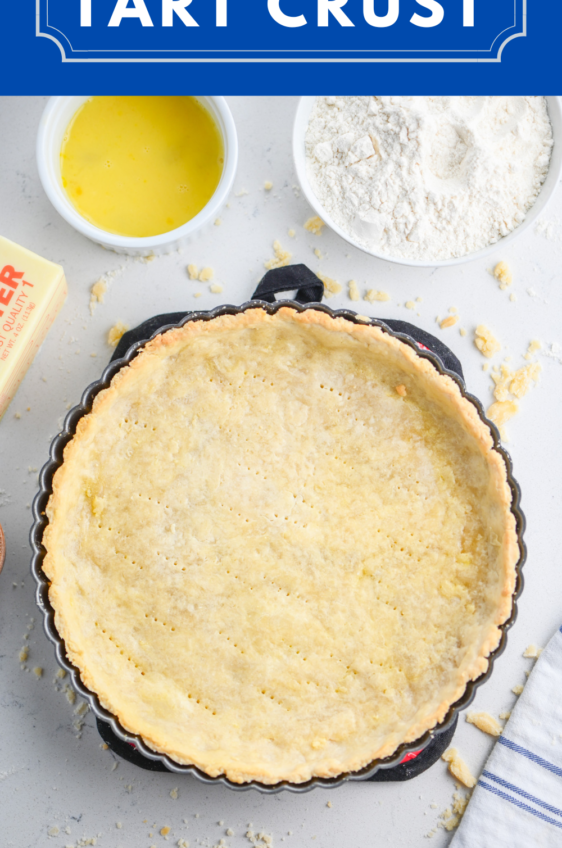
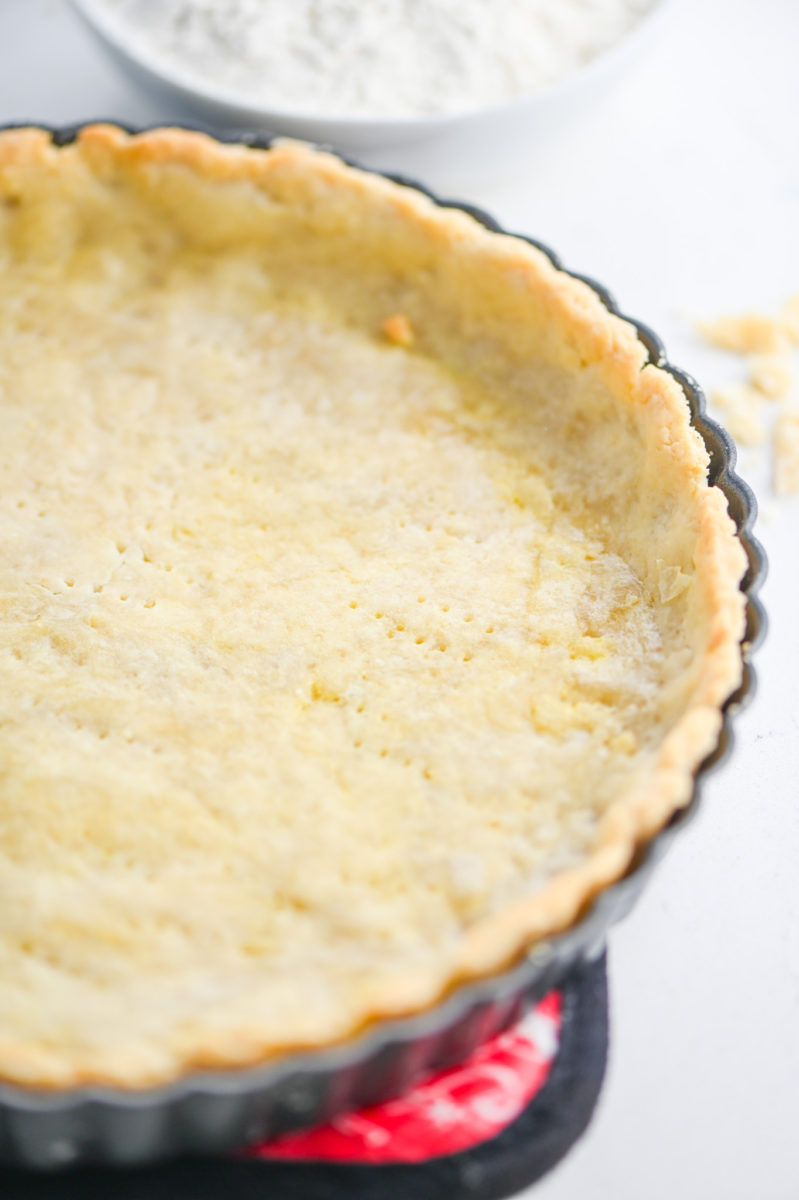
STEP #4: Remove from oven and remove pie weights. Prick tart crust with a fork, brush with egg wash and bake for 2 – 3 more minutes or until golden brown. Remove from oven and let cool.
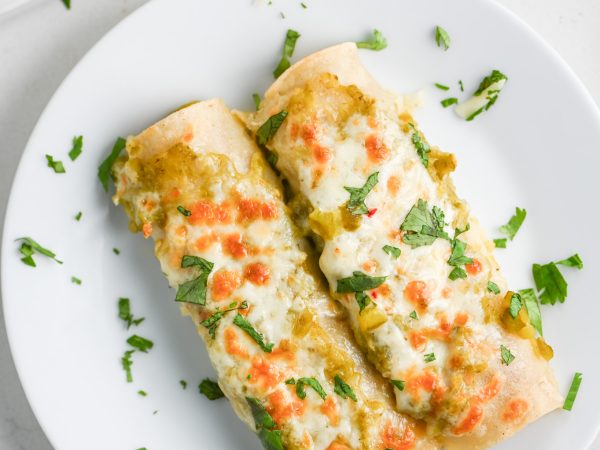
At this point, fill it with your favorite filling. It can be baked again or used for a filling that doesn’t need any additional cooking time.
Recipe FAQ:
Pie weights are used to weigh down a pie crust when you are blind baking, they help the crust keep its shape. You can buy actual pie weights or you can use dried beans, uncooked rice or sugar.
They are different! Tart crusts are firmer and more crumbly than pie crusts.
Servings
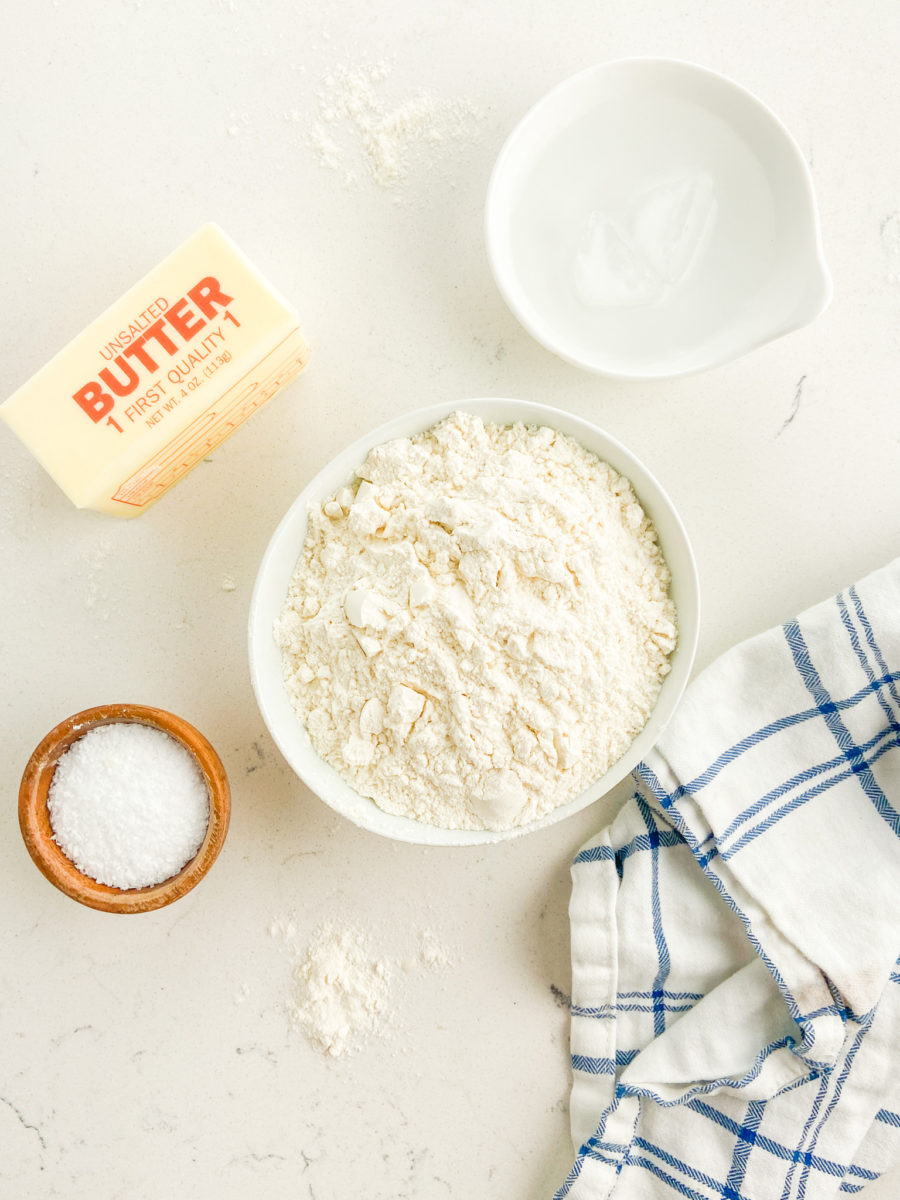
Ingredients
- 1 1/2 cups all purpose flour
- 1/2 cup unsalted butter (cold, cut into small cubes )
- 1/2 teaspoon salt
- 3 tablespoons ice water
- 1 egg
- 1 tablespoon water
Instructions
Pulse flour, butter, salt and ice water together in a food processor until they start to come together. Mixture will be very crumbly but should hold together if you squeeze it with your hands.
Place mixture on plastic wrap and press togehter to form a ball of dough. Wrap and gently flatten. Refrigerate for at least 30 minutes.
Preheat oven to 450 degrees. Remove from plastic wrap and press dough into tart pan. Use a sharp knife or kitchen shears to trim any excess crust from the pan.
Place aluminum foil (or parchment paper) on top of the crust and top with pie weights. Bake for 10 minutes.
Whisk together egg and 1 tablespoon of water.
Remove the aluminum foil and pie weights. Prick the tart crust with a fork and brush with egg wash. Bake for another 2 - 3 minutes or until golden brown.
You now have a fully baked tart crust that you can fill with your favorite filling.
Hi Hina! I haven’t tried it but I don’t see why you couldn’t use this for tartlets. I would think par baking ahead of time should be fine too. I have never frozen this crust however so cannot recommend par-baking then freezing. Hope this helps!
Can we use this recipe for tartlets. And can we par bake the shell for later use?
[…] post Savory Tart Crust appeared first on Life’s […]