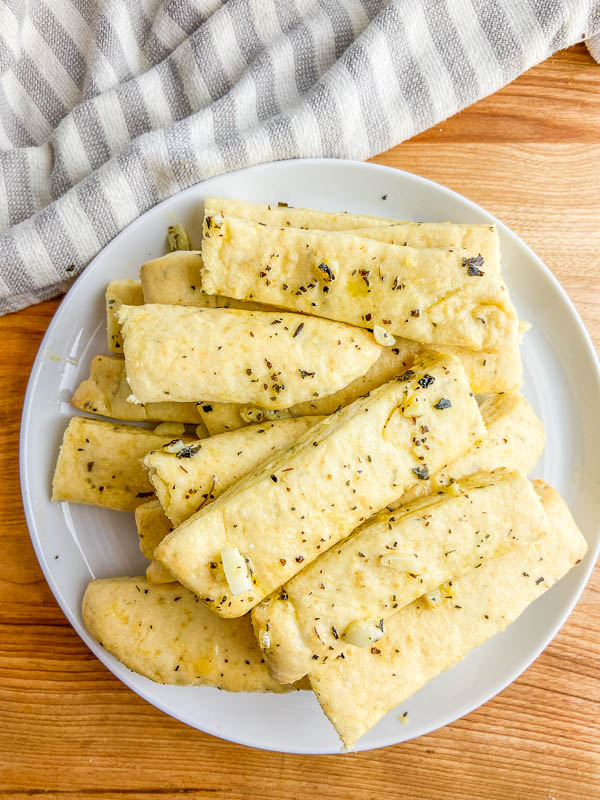
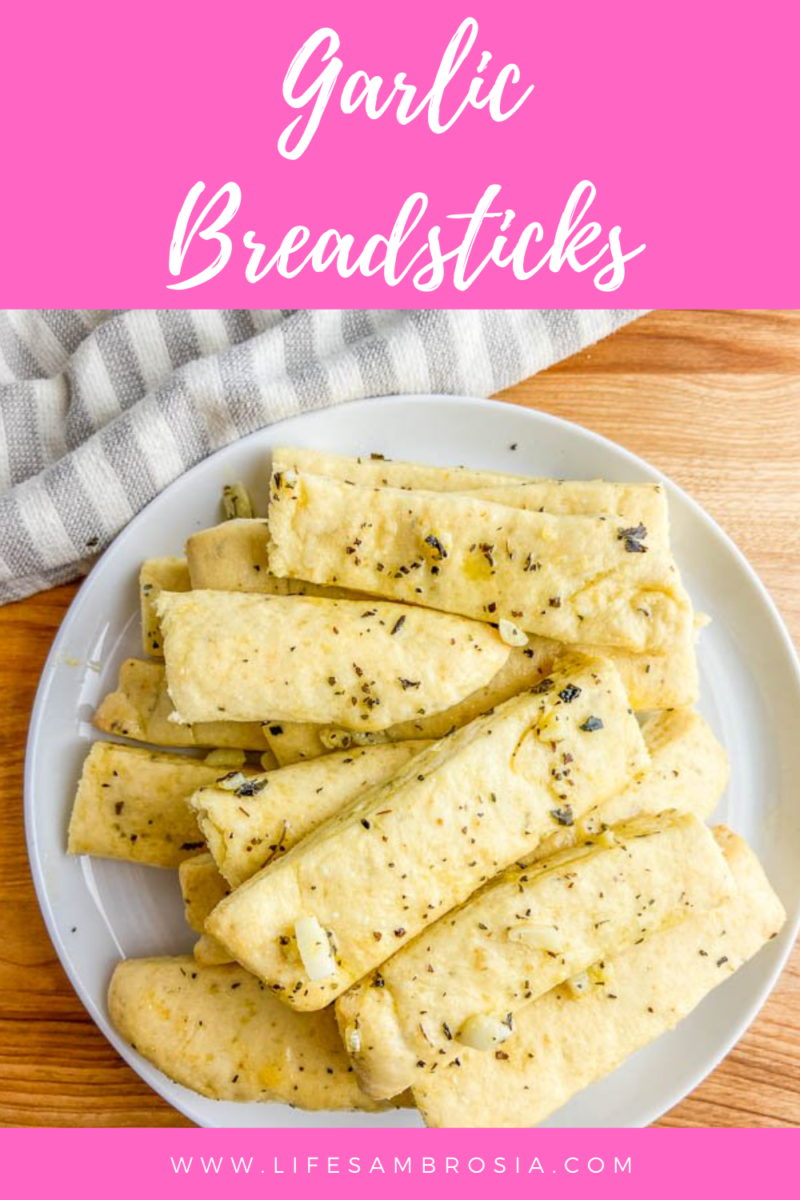
These easy made from scratch garlic breadsticks require no yeast, no resting time, brushed with garlic butter and baked to perfection. They are family hit!
Whenever we go out for or order pizza delivery we like to order a side of breadsticks too. Because I mean, you can’t go wrong with more carbs, am I right?!
After ordering or going out to pizza nearly every Saturday for years now, we have become what you might call “breadstick connoisseurs”. We order them at every pizza place that we go to. Then we talk about which ones we like and which ones we don’t. And while the verdict is still out on which place has the best breadsticks we have determined that the best breadsticks have the following qualities: thin, buttery, chewy, buttery, garlicky oh and did I mention buttery?

And now with this recipe, you can make the perfect garlic breadsticks at home! And the best part about it is that these breadsticks require no yeast, so they don’t have to rise. This means that if you are short on time and yeast, these breadsticks are perfect for you too!
DES’ TIP: Because these breadsticks don’t require yeast, they won’t be fluffy breadsticks that you may be used to. Instead, these are perfectly thin and chewy.
How To Make Garlic Breadsticks:
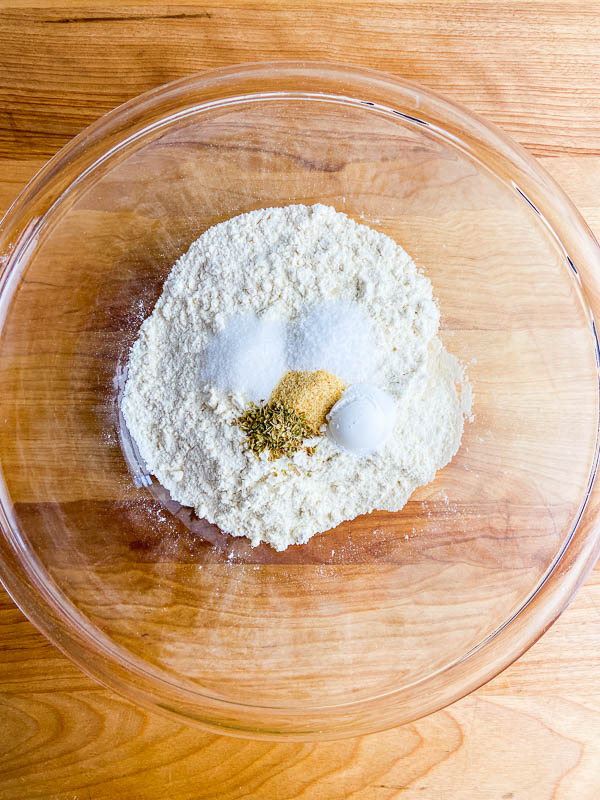
STEP #1: Combine flour, sugar, salt, baking powder, garlic and oregano together in a bowl. Whisk until well combined.
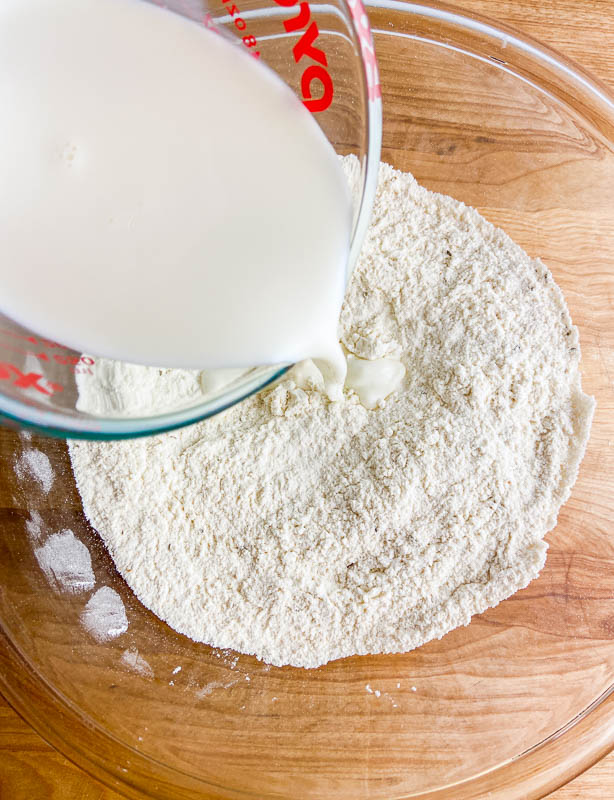
STEP #2: Slowly stir in milk. Stir just until dough comes together.
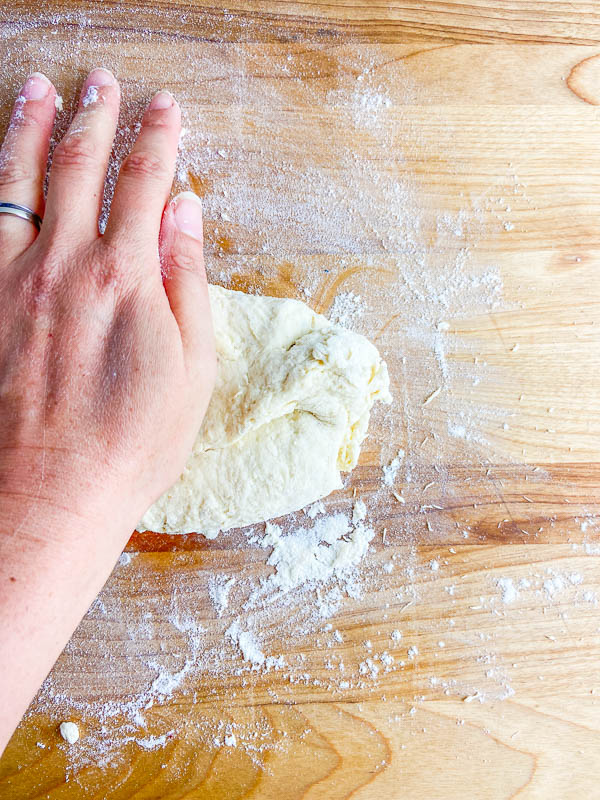
STEP #3: Knead the dough on a lightly floured surface. 4 times is really all you need.
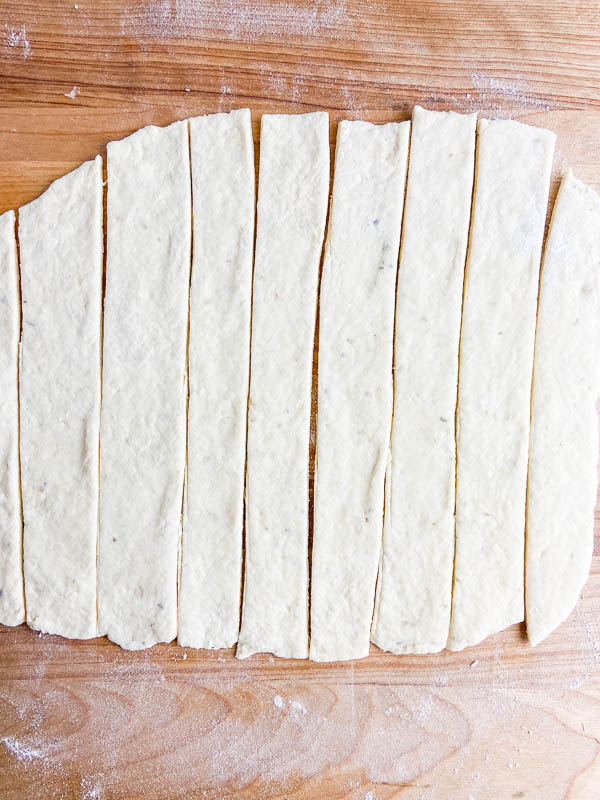
STEP #4: Roll the dough out to 1/4 inch thick and then cut into 10 strips.
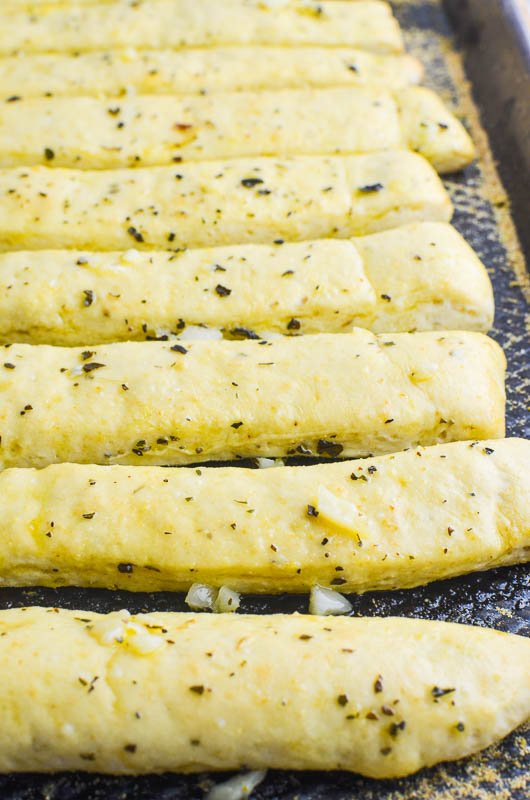
STEP #5: Place breadsticks on a cornmeal dusted baking sheet. Brush them with olive oil and melted butter and bake 10 – 12 minutes.
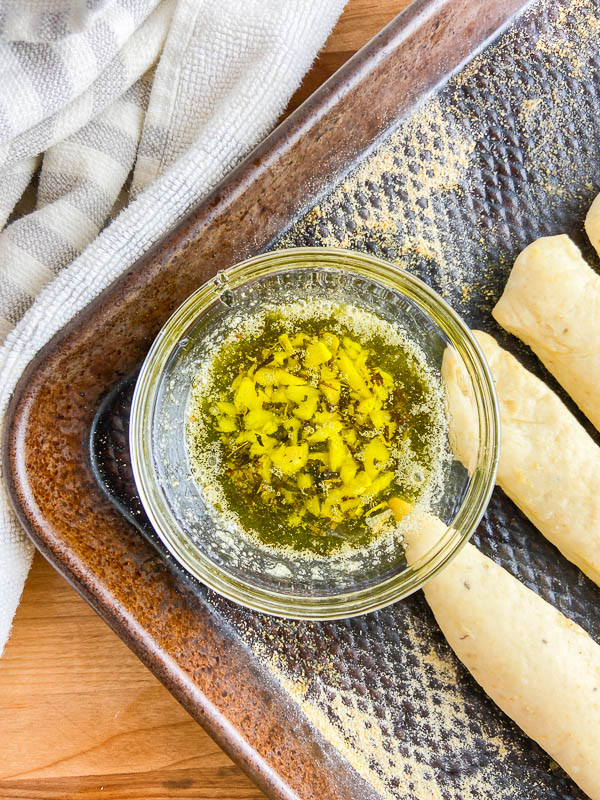
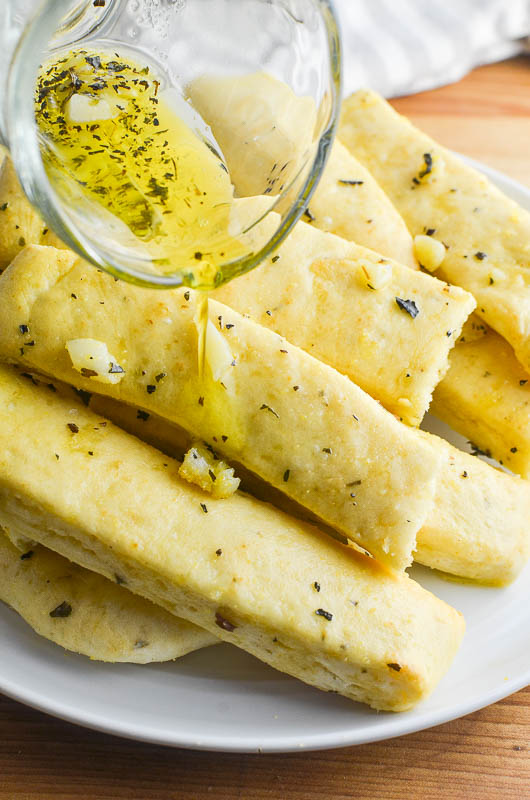
STEP #6: Melt butter and olive oil in a skillet. Add in garlic and oregano. Cook just until garlic is fragrant and then brush or drizzle over breadsticks.
Store leftovers in an airtight container and they’ll last a couple of days. We’ve been known to eat them cold, but to reheat simply place in aluminum foil and warm in the oven at 350 until warmed through, 5 – 10 minutes.
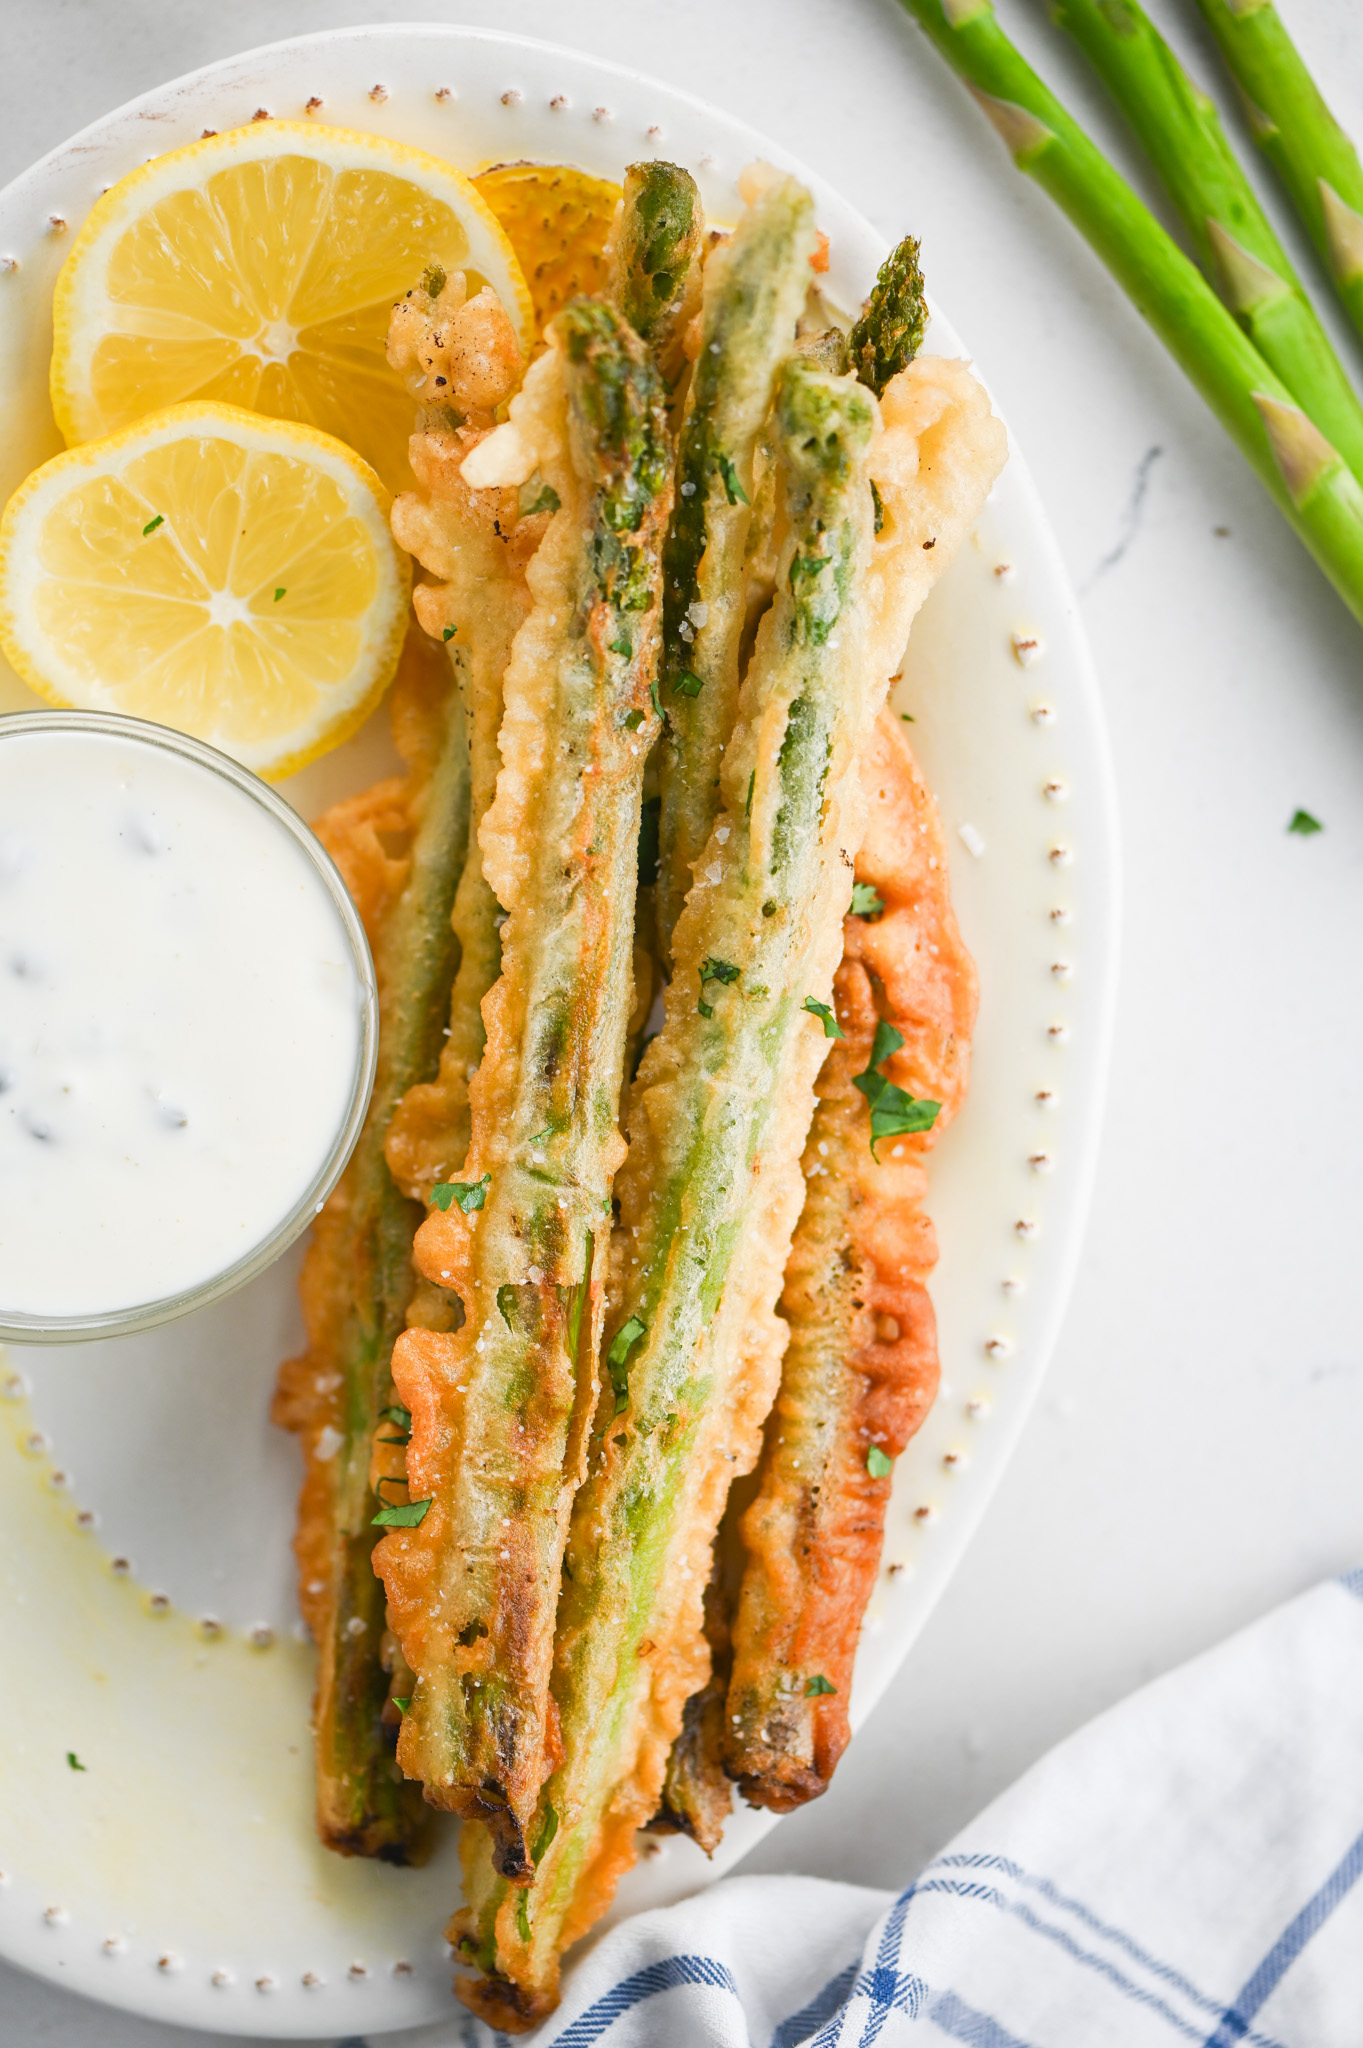
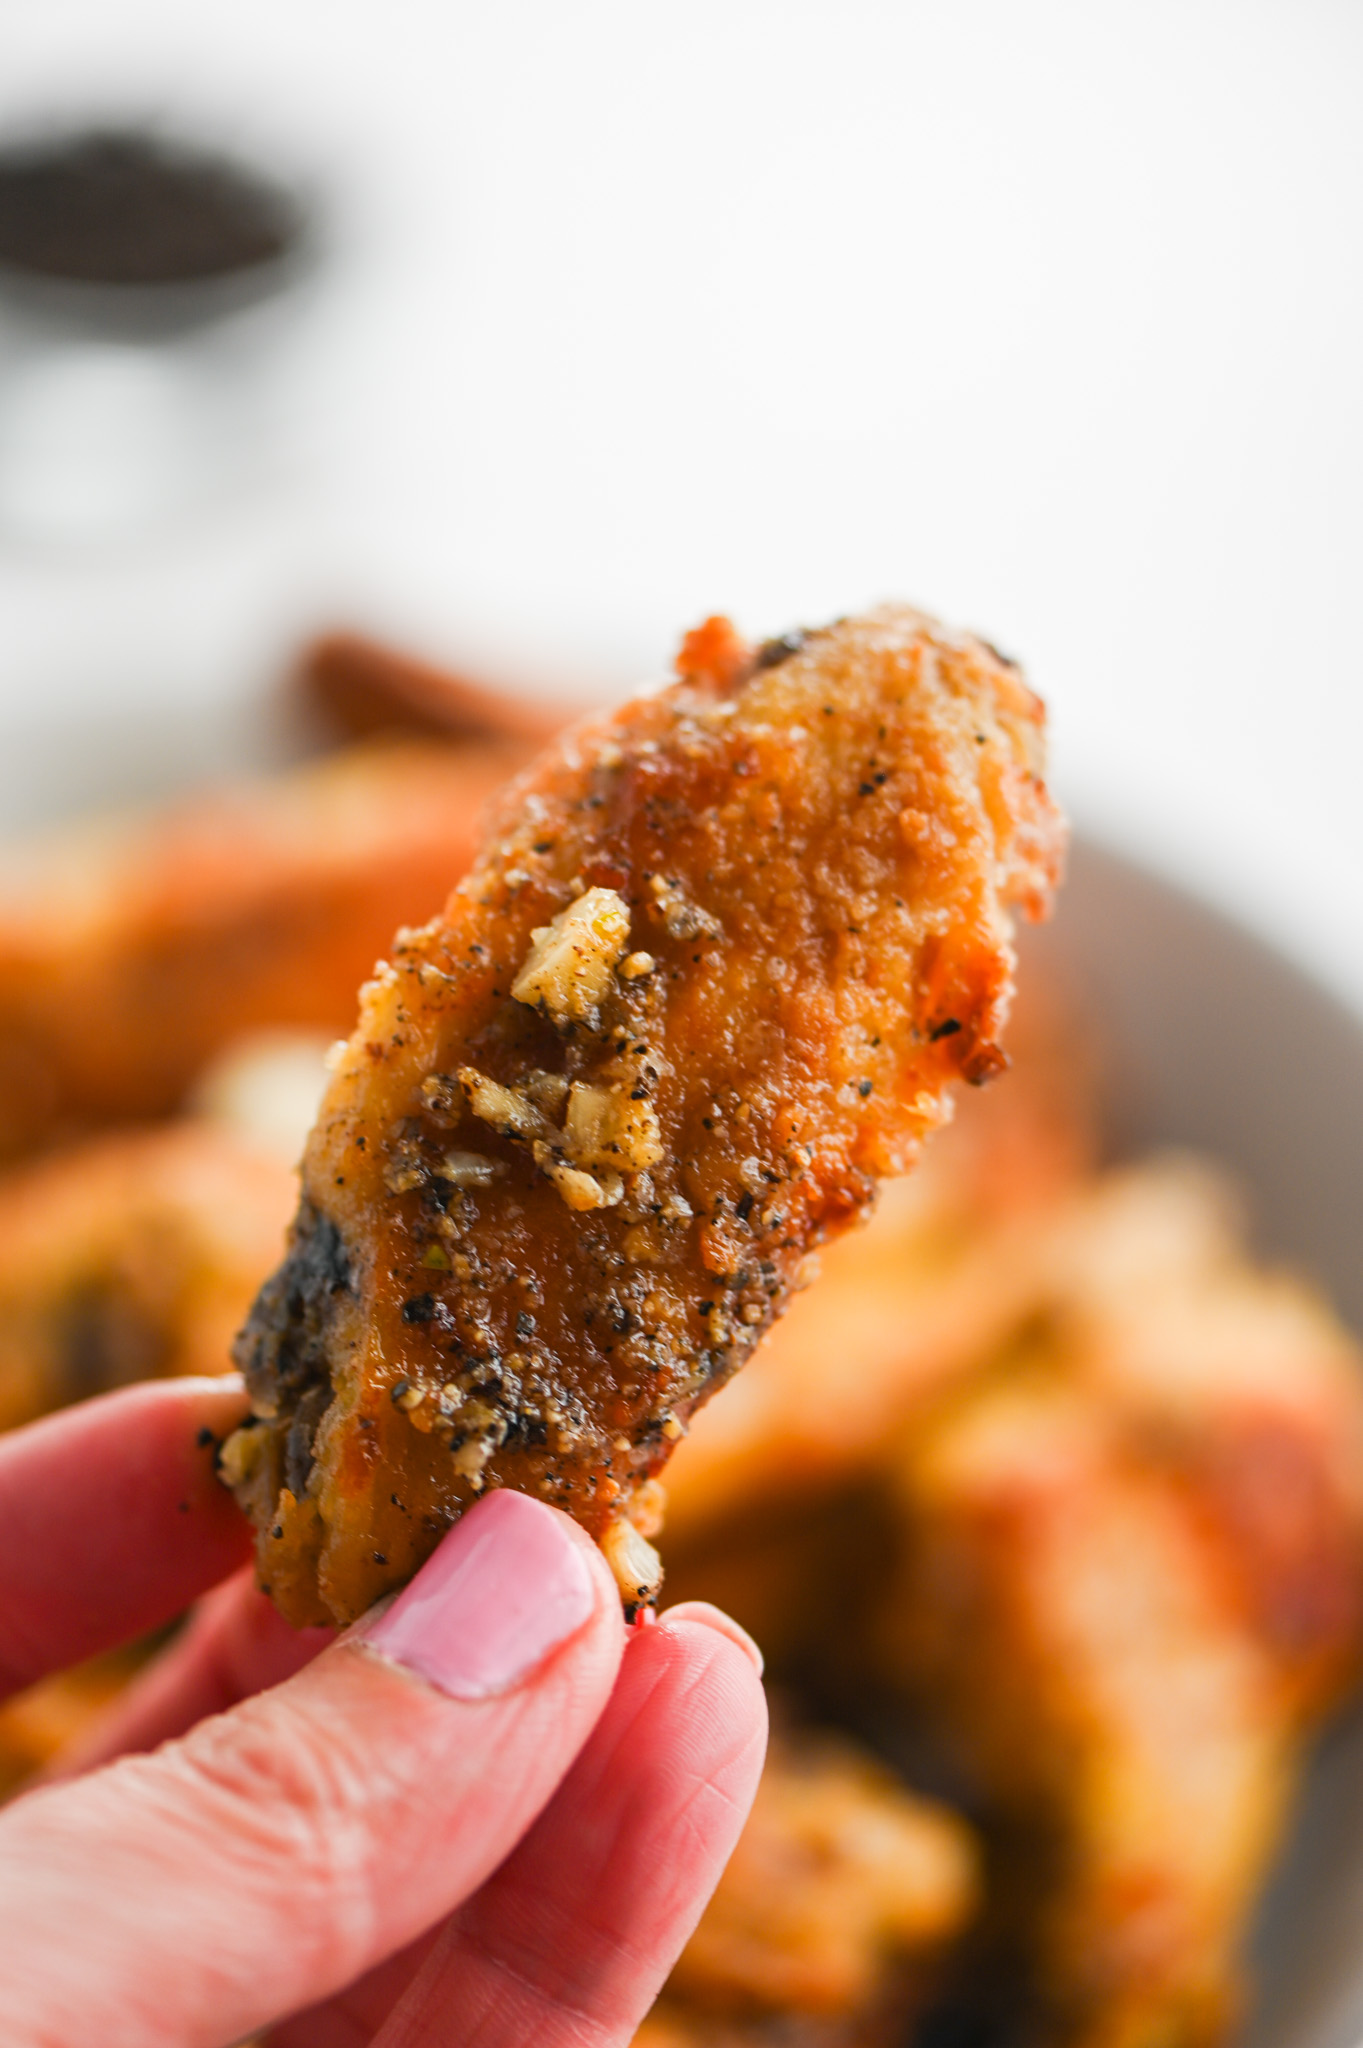
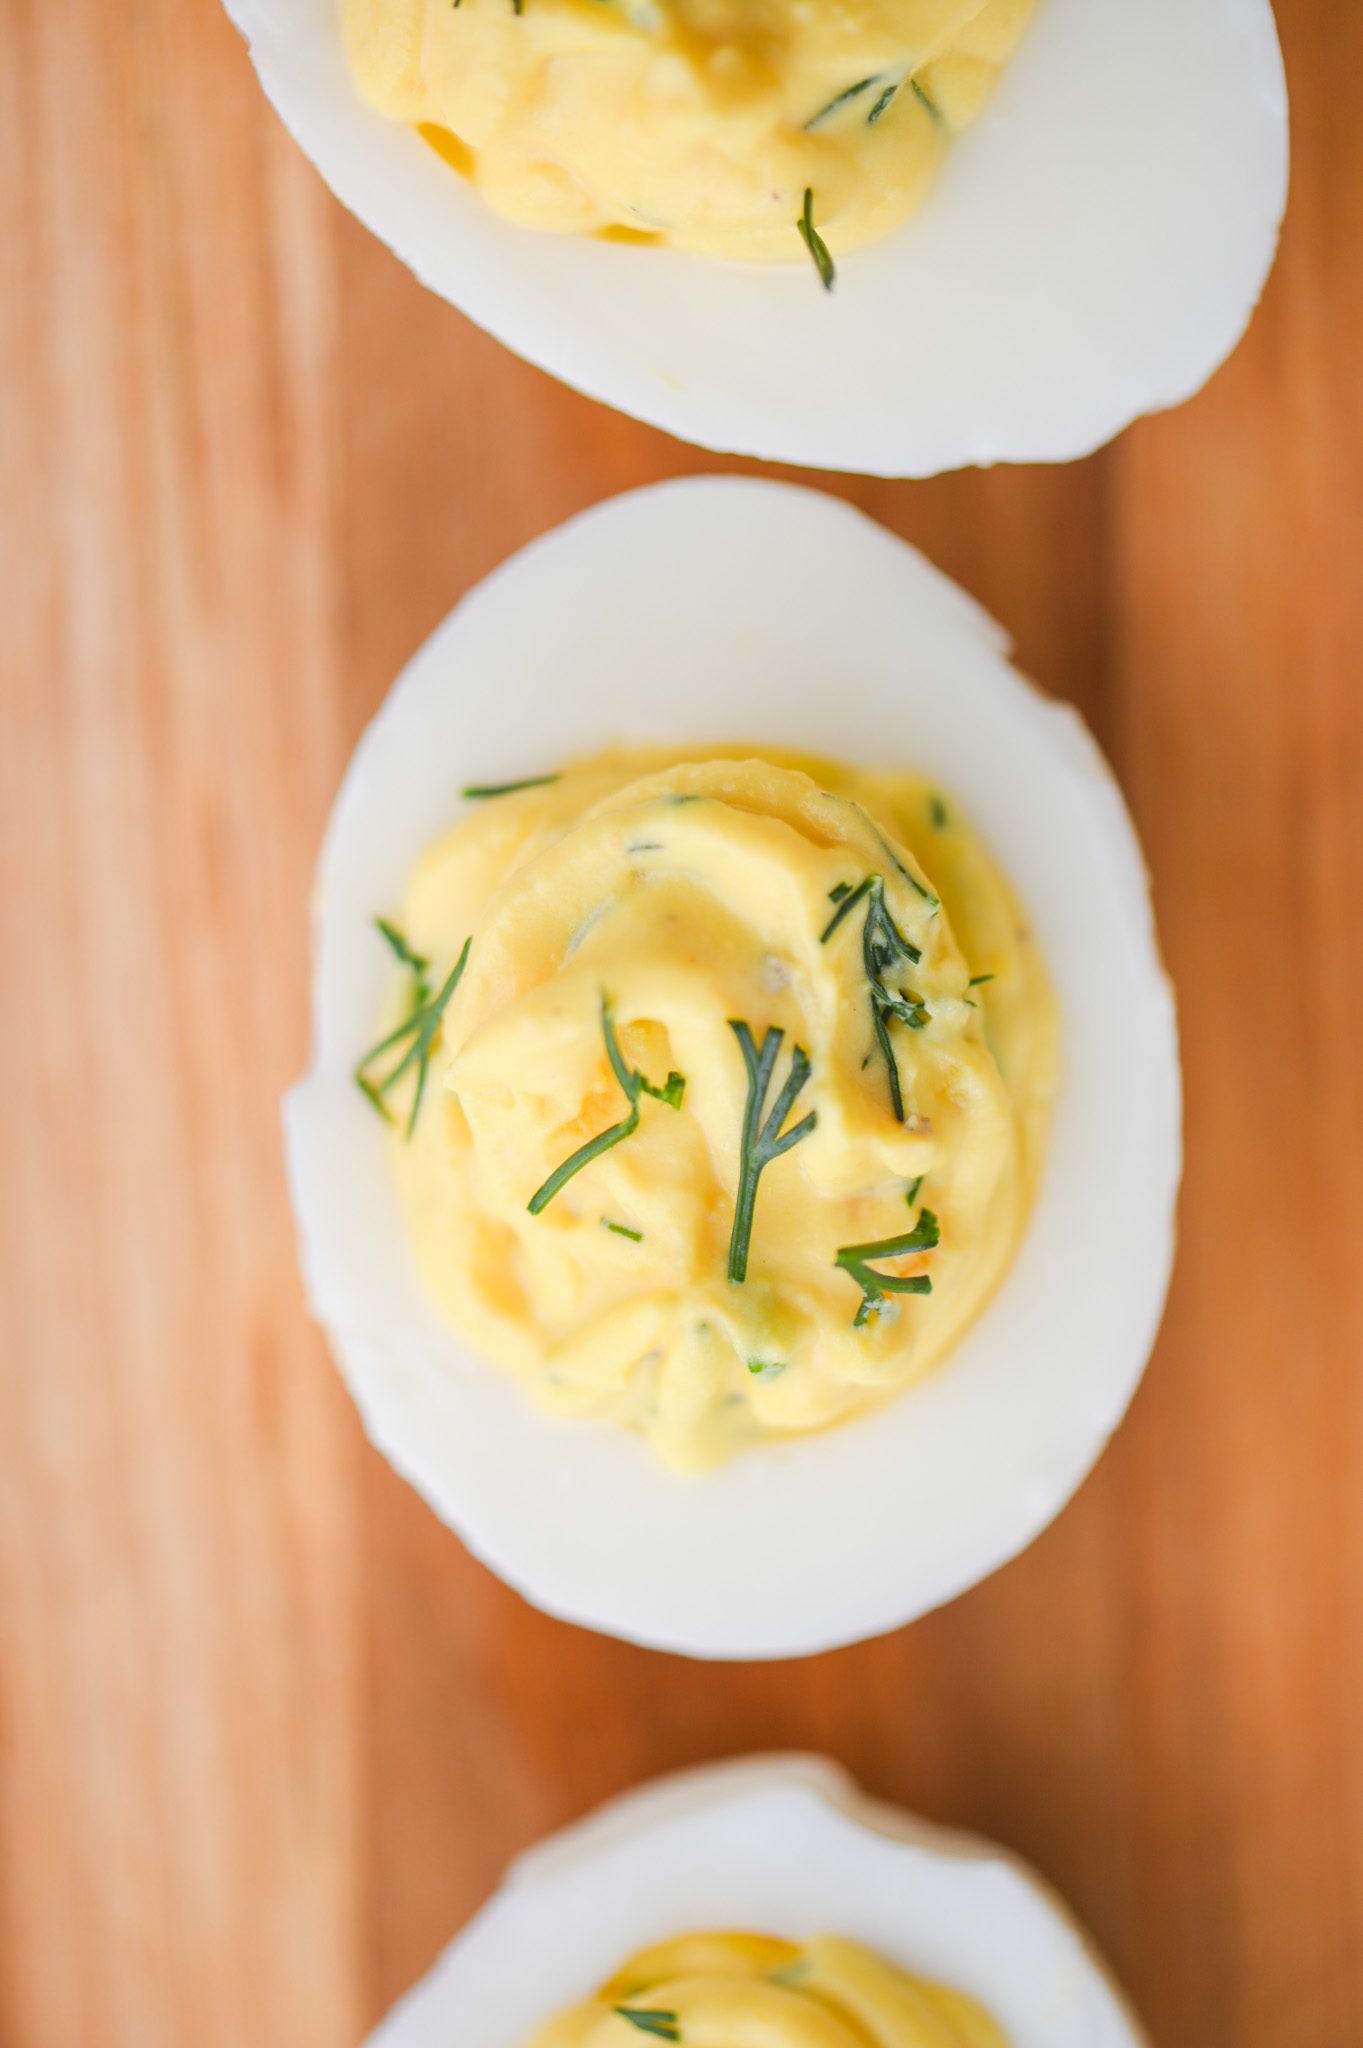
Looking for more recipes to serve alongside these garlic breadsticks? Try these!
Love garlic? You’re going to want to check out these:
How to make Oven Roasted Garlic
Note: This Garlic Breadsticks recipe was originally posted in 2011. It was updated with step by step photos, tips and nutrition facts in 2020.
Servings
Ingredients
- 1 1/2 cups all purpose flour
- 1 teaspoon sugar
- 1 teaspoon kosher salt
- 1 1/2 teaspoons baking powder
- 1/2 teaspoon garlic powder
- 1/2 teaspoon dried oregano
- 3/4 cup milk
- 1/4 cup yellow corn meal
- 3 tablespoons butter
- 1 tablespoon olive oil
- 2 cloves garlic minced small
- 1/2 teaspoon dried basil
Instructions
- Preheat oven (and baking stone if using) to 400 degrees.
- Combine first six ingredients together in a bowl. Slowly mix in milk until dough forms.
- Lightly flour a cutting board or other hard surface and kneed dough a 4 times. Roll dough to 1/4 inch thick and cut into about 10 long strips.
- Melt 1 tablespoon of butter with one tablespoon of olive oil. Brush on breadsticks.
- Dust baking sheet or baking stone with the corn meal. Place bread sticks directly on the baking stone (or baking sheet). Bake 10 - 12 minutes or until golden.
- In the same pan you melted the butter and olive oil in, melt the remaining 2 tablespoons of butter. Add in garlic and basil. Cook just until garlic is fragrant. About 30 seconds. Brush over cooked breadsticks. Cut breadsticks in half. Serve hot.
Yes you can use yellow corn meal!
what happens if i do not do cone mill can i use yellow corn mi insted?
This recipe was pretty good. Next time I’ll use less milk. It was way to wet and the dough wasn’t formed. So I ended up adding flour to picknit up and mixed in more. I sprayed oil on my cookie sheet and just let the tough spread out. I baked it right up and it ended being a wonderfully delicious flat bread that I still cut in strips once it was done. So yummy. I loved it so much that I want THIS, even my goofs, as the norm for my garlic bread/ garlic flat bread.
haha! Well I am happy you enjoy them! :)
Really excellent. I usually don’t care for a no rise breadstick. I ate all of these. I will make them again as soon as I can move :)
[…] Tilpasset fra: Lifes Ambrosia […]
I love that you don’t have let these rise…no waiting required!
Yum! These look hard to resist!